AI Flow Se Video Kaise Banaye 2026 | Photo Se AI Viral Video Banaye | AI Flow Tutorial
Digital content creation ka landscape 2026 me poori tarah badal chuka hai. Aaj ke time me basic transitions ya simple slideshows dekh kar viewers turant scroll kar dete hain. Instagram Reels, YouTube Shorts aur baki viral video platforms par wahi creators dominate kar rahe hain jo cinematic motion aur visual storytelling ko smartly combine karte hain.
Pehle kisi static photo ko high-budget cinematic video mein convert karne ke liye ghanto tak 3D camera projection, rotoscoping aur high-end VFX render karna padta tha. Lekin Google AI Flow ke aane se yeh poora process fast aur accessible ho gaya hai. Ab aap apni normal si photo ko bhi ek vintage, high-speed retro cinematic bike ride video me convert kar sakte hain bina kisi advanced manual editing ke.
Is in-depth guide me hum seekhenge ki AI Flow se video kaise banaye, 2026 ke complete workflow ko follow karke professional-quality videos export kaise karein, accurate prompts kahan se lein, aur consistency ko kaise 100% lock karein.
AI Flow Technology Kya Hai Aur Yeh Kaise Kaam Karta Hai?
Traditional image-to-video tools aksar character ka face change kar dete the ya unrealistic morphing create karte the. Google AI Flow advanced motion synthesis aur facial anchoring model par kaam karta hai, jo static image ko visual physics ke sath connect karta hai.
- Facial Identity Preservation: Yeh tool aapke uploaded reference photo ke facial bone structure, skin tone aur eye alignment ko lock karta hai taaki character poori video me original dikhe.
- Physics-Based Organic Motion: Static clothes me real wind displacement, bike ka suspension movement aur optical camera tracks natural tareeqe se render hote hain.
- Atmospheric Lighting Consistency: Video generate hote waqt lighting reference image aur prompt surroundings ko match karti hai, jisse video realistic aur natural lagti hai.
Viral AI Video Ke Liye Perfect Reference Photo Kaise Select Karein?
Kisi bhi AI video generation ka main base aapki source image hoti hai. Agar source material low resolution ka hoga, toh final video me face tearing aur motion artefacts aane lagte hain.
- Sharp Facial Focus: Hamesha high-resolution aur uncompressed image use karein jisme face par clean, balanced natural light ho.
- Avoid Heavy Pre-applied Filters: Photo par pehle se koi cartoon filter, heavy blur ya extreme colour grading nahi honi chahiye taaki AI engine facial features ko sahi tarah detect kar sake.
- Clear Subject Separation: Subject aur background ke beech clean contrast hona chahiye taaki AI algorithm multi-plane camera movement easily apply kar sake.
Step 1: Official Website Se Master Prompt Copy Karein
Realistic aur authentic video generate karne ke liye sabse important element hota hai ek detailed visual prompt, jo camera angle, retro atmosphere aur negative rules ko clearly define kare.
Is viral retro cinematic look ke liye humne ek tested master prompt prepare kiya hai jise aap direct access kar sakte hain:
- Apne browser me visit karein: royeditz. in.
- Website par jakar trending AI prompt section browse karein ya search bar me type karein.
- Wahan se dedicated Google AI Flow 80s–90s Retro Bike Ride Video Prompt ko direct plain text format me copy kar lein.
Step 2: Google AI Flow Platform Par Setup Aur Photo Upload
Prompt copy karne ke baad real generation process shuru hota hai:
- Google AI Flow ke official portal ya verified dashboard ko open karein.
- Apne account credentials se login karein taaki rendering cluster active ho sake.
- Tool ke Image-to-Video (I2V) module ko select karein.
- Upload section par tap karke apni wo clear photo upload karein jiska visual look aapko video me preserve rakhna hai.
- Reference image ka preview load hone tak wait karein.
Step 3: Plain Text Master Prompt Paste Karein Aur Settings Set Karein
Photo upload hone ke baad prompt box me royeditz.in se copy kiya gaya plain text prompt paste karein:
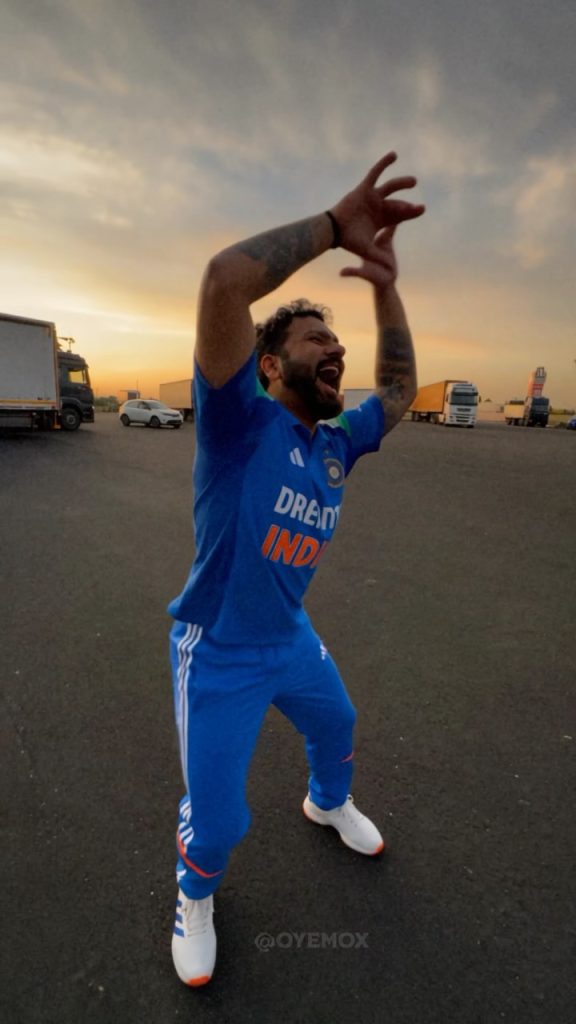
Recreate the uploaded reference video EXACTLY, shot for shot, as a new photorealistic vertical 9:16 video. MOTION LOCK (from reference video): Copy every movement from the reference video exactly — the same dance steps, arm and body movements, hand gestures, walking path, timing and rhythm. Copy the exact camera path: same handheld shake, same pans, same whip-pans, same 180° selfie rotations, same framing and cut points. Do not add, remove or change any movement. Use the reference video ONLY for motion, camera and timing — do NOT copy any face, clothing or texture from it. CHARACTER REPLACEMENT (from reference images): – Reference image 1 = THE DANCER. Replace the dancing man in the video with this person. He appears ONLY in the opening dance, performing the exact same dance moves. He never holds the phone and never appears in any selfie shot. – Reference image 2 = THE CAMERA OPERATOR. He holds the phone for the entire video. Every time the camera turns around into selfie view (the first selfie turn AND the final selfie), the face shown MUST be this person, with the same expressions and movements as in the video. – Reference image 3 = THE PASSENGER. Replace the man who steps out of the parked car with this person. He gets out and walks toward the camera exactly as in the video, and stands in the background during the final selfie. He never holds the phone.
Pro Strategy: Video Ko Ultra-Realistic Look, Kaise Dein?
Step 4: Render Engine Trigger Karein Aur Video Export Karein
- Prompt paste karne ke baad aspect ratio ko 9:16 (Vertical) confirm karein taaki video Reels aur Shorts ke standard format me export ho.
- Settings me motion stability aur identity retention ko maximum par rakhein.
- Generate / Run Command button par click karein.
- AI engine background me optical flow, wind physics aur 35mm film look apply karke scene build karega.
- Render complete hone ke baad video ka preview check karein aur use high resolution me download kar lein.
Agar aap chahte hain ki aapki video synthetic na dikhe balki ek actual cinema shot jaisi feel de, toh downstream post-processing par dhyan dein:
- Foley & Sound Design: Video download karne ke baad vintage bike engine ka real stereo sound sync karein. Wind ambient sound add karne se video ki visual depth aur organic feel double ho jati hai.
- Subtle Motion Blur: Editing software me halka sa optical motion blur blend karein taaki frame jumps soft ho jayein.
- Colour Matching: AI ne jo vintage tone diya hai, us par halka sa highlight aur shadow curve balance karein taaki aapka visual output unique dikhe.
Bonus Tip: Professional Colour Palette & Sound Sync Workflow
- Analog Film LUTs: Video ko final publish karne se pehle ek subtle Kodak Vision3 500T ya Fujifilm Eterna LUT 20% to 30% opacity par apply karein. Yeh AI highlights ko soft matte look deta hai.
- Dynamic Beat Matching: Retro synthwave ya 80s nostalgic background audio select karein. Camera angle change ko audio beat drop par perfectly align karein taaki viewer retention maximise ho sake.
Conclusion
AI video generation ab traditional video editing ka future ban chuka hai, aur Google AI Flow is process ko behad fast aur high-quality banata hai. Sahi reference image select karke aur royeditz.in se targeted prompts use karke aap bina kisi visual glitch ke viral content ready kar sakte hain. Consistency aur regular practice maintain karein, naye cinematic camera moves test karein aur apne social media channels ko professional quality AI videos ke sath grow karein.