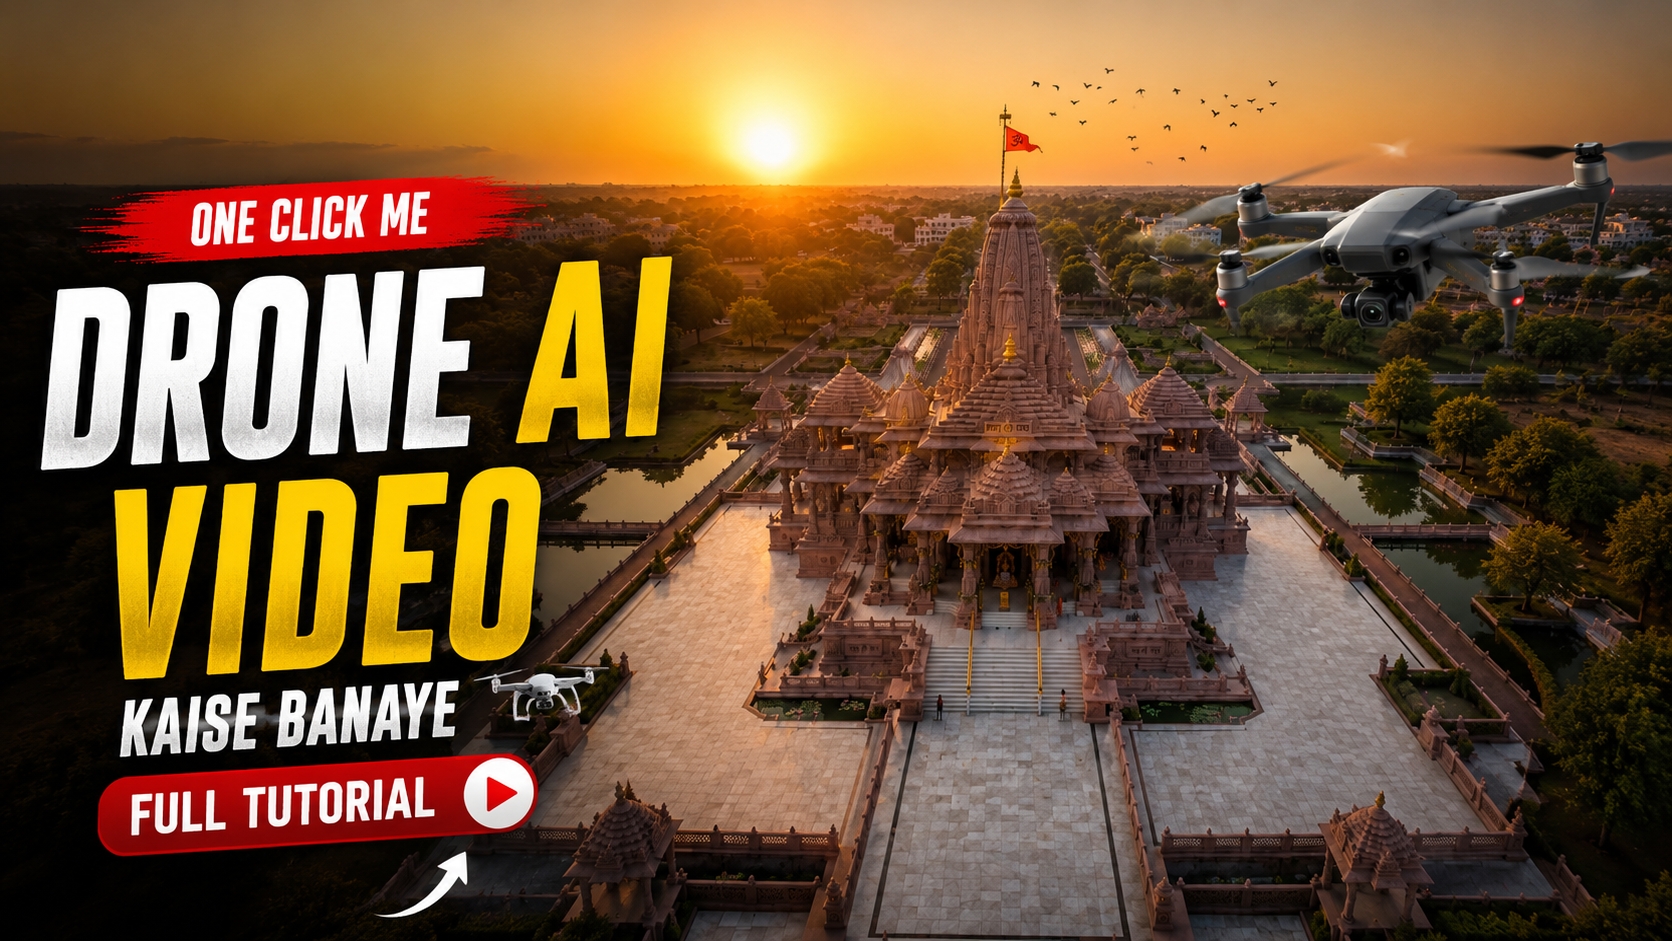
Aaj ke daor mein social media platforms jaise Instagram Reels, YouTube Shorts, aur Facebook videos par cinematic aerial drone shots ka craze sabse zyaada hai. Chahe kisi travel reel ka opening shot ho, kisi real estate property ka overhead tour ho, ya fir kisi natural landscape ki aesthetic video—drone shots aapke content ki visual quality ko instantly 10x badha dete hain.
Lekin real life mein ek expensive physical drone khareedna, use fly karne ki permission lena, aur piloting skill seekhna har beginner creator ke liye possible nahi hota. Yahin par kaam aata hai Artificial Intelligence! Aaj Google Gemini aur modern AI video models ki madad se aap apni kisi bhi normal 2D photo ko ek breathtaking 4K cinematic AI drone video mein convert kar sakte hain. Is detailed tutorial mein hum seekhenge ki kaise aap bina kisi mehnge equipment ke, sirf apne smartphone ya laptop ka use karke Create AI Drone Videos with Google Gemini (Step-by-Step Tutorial) ke zariye viral-quality aerial shots tayyar kar sakte hain.
Google Gemini AI Drone Video Generator Kya Hai Aur Ye Kaise Kaam Karta Hai?
Google Gemini ek highly advanced multimodal AI model hai jo text commands (prompts), images, aur visual instructions ko samajhne mein mahir hai. Jab aap Google Gemini mein apni koi photo upload karte hain, toh Gemini us photo ke depth analysis, vanishing point, aur spatial geometry ko study karta hai.
Jab hum Gemini ko ek proper cinematic camera direction aur flight trajectory (jaise FPV drone roll, orbit shot, ya top-down bird’s-eye view) ka prompt dete hain, toh Gemini apne powerful AI generative framework ke zariye us static photo ke pixels ko animate karke ek ultra-realistic AI Drone Shot generate kar deta hai. Isse aapko aisa feel milta hai jaise kisi professional drone pilot ne 4K resolution mein wo video shoot ki ho.
Step 1: Google Gemini Platform Par Account Setup Aur Login
Sabse pehle aapko Google Gemini ke official environment ko access karna hoga: Apne mobile phone ya computer ke browser mein gemini.google.com open karein. Apne kisi bhi active Google Account (Gmail) se login karein. Agar aap mobile user hain, toh aap Google Gemini App ko Play Store ya App Store se download karke bhi use kar sakte hain. Gemini interface open hote hi aapko neeche ek clean text input box aur ek Attachment / Image Upload (+) Icon dikhai dega.
Step 2: High Quality Photo Upload Karein (Source Image Selection)
AI drone video ki final output quality 80% aapki input photo par depend karti hai. Isliye image select karte waqt in baaton ka dhyan rakhein: Image Upload Process: Gemini ke prompt box ke bagal mein bane + (Plus) ya Image icon par tap karein aur apne gallery se desired photo select karke upload karein. Best Image Types: Wide-angle landscape photos, mountain ranges, beach view, historical monuments, architectural buildings, ya outdoor portraits is process ke liye sabse best result deti hain. Image Resolution: Hamesha high-res, clear lighting, aur bina kisi heavy blur wali photo ka hi upyog karein taaki AI depth ko accurate tarike se read kar sake.
Step 3: Exact Master Prompt Copy Aur Paste Karein
Photo upload karne ke baad sabse crucial step hai AI ko bilkul precise instruction dena. Aapko neeche diya gaya master prompt copy karke Gemini ke text box mein paste karna hai…..
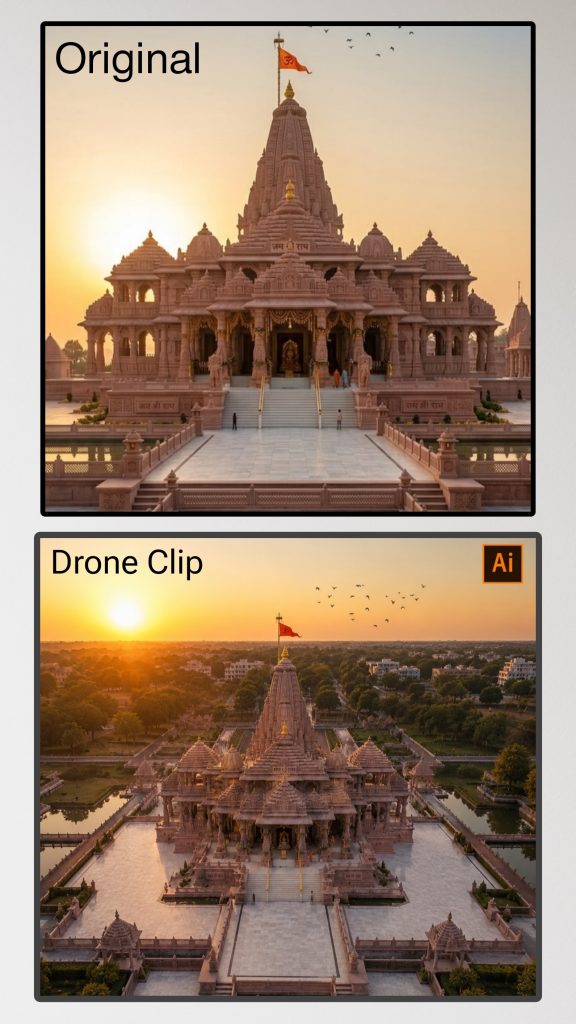
Use the attached annotated image as the starting frame. The red line represents the drone's flight path and waypoints only. The white arrows represent the camera viewing direction only. These are production guides for planning the animation and are not part of the scene. Before the animation begins, automatically remove all production guides-including the red flight path, white arrows, waypoint numbers, labels, text, graphics, overlays, and annotations-to reveal the original clean image underneath. Create a single continuous, photorealistic aerial drone POV that follows the exact trajectory defined by the red flight path, accurately matching its curves, altitude changes, direction of travel, pacing, and endpoint. Simultaneously, orient the virtual camera according to the white directional arrows at every moment so the viewing direction follows the planned camera orientation while naturally keeping the main subject perfectly framed The drone flight path and camera orientation are the highest-priority instructions and must be followed precisely, even when the direction of travel differs from the viewing direction. Use smooth cinematic drone physics with realistic inertia, gentle banking, natural acceleration and deceleration, stabilized gimbal movement, and seamless transitions. There must be no cuts, jumps, teleports, or abrupt camera rotations. Preserve the original scene exactly as shown. Do not modify the environment, architecture, lighting, weather, colors, textures, subject placement, scale, or composition. The only change should be the realistic virtual camera movement following the planned flight path. Final Output Requirements: No physical drone should ever be visible. No red flight path lines. No white direction arrows. No waypoint numbers. No labels or instructional text. No overlays, graphics, guides, UI elements, or annotations. No watermarks. No editing marks of any kind. The final result must look as if a real drone naturally captured the footage in a single uninterrupted cinematic flight, with zero evidence that any planning guides or reference graphics ever existed.
Step 4: AI Video Rendering Aur Output Generation Process
Prompt paste karne ke baad Send / Submit button par click karein. Processing Phase: Google Gemini aapki image ke structure, horizon line, aur lighting ko analyse karega. Rendering Time: Kuch hi seconds ke andar AI aapke static photo ko animate karke ek dynamic 3D drone camera trajectory generate kar deta hai. Review & Refine: Output generate hone ke baad video ko play karke dekhein. Agar aapko motion speed ya camera angle mein koi change chahiye, toh aap follow-up prompt mein “Make the drone orbit around the subject” ya “Add cinematic slow motion” likhkar regenerate kar sakte hain.
Step 5: High Resolution File Download Aur Storage
Jab aap apne generated AI drone video clip se fully satisfied ho jayein: Video output player ke top-right corner par bane Download Icon par click karein. File ko apne local storage (Gallery / Files) mein MP4 format mein save karein. Ye video clip bilkul royalty-free aur original hoti hai, jise aap apne kisi bhi commercial ya personal video editing project mein follow-up assets ke roop mein use kar sakte
Advanced Editing Workflow: AI Drone Videos Ko Professional Look Kaise Dein?
Sirf raw AI video generate kar lena hi kafi nahi hota. Usse social media-ready banane ke liye aapko kuch quick editing touch-ups dene hote hain:
Advanced Editing Workflow: AI Drone Videos Ko Professional Look Kaise Dein?
Sirf raw AI video generate kar lena hi kafi nahi hota. Usse social media-ready banane ke liye aapko kuch quick editing touch-ups dene hote hain:
1. Sound Design (FPV Drone & Wind SFX)
AI videos mein by-default audio nahi hota ya generic sound hota hai. Apni editing app (CapCut, VN, ya Premiere Pro) mein video import karke background mein Whoosh Sound Effects, Wind Blowing Foley, aur ek Energetic Cinematic Beat add karein. Audio-visual sync aapke video ki engagement ko 200% badha dega.
2. Speed Ramping (Velocity Curve)
Drone shots hamesha constant speed par acche nahi lagte. Video ke middle part par Speed Curve (0.5x Slow-Mo to 2.0x Fast Sweep) apply karein. Isse video mein ek professional action-movie jaisa transition impact aata hai.
3. Colour Grading & Film Grain
AI render mein halka sa digital sharpness hota hai. Apni editing app ke Adjustment panel mein jakar Highlights -5%, Shadows +5%, aur Film Grain 8% add karein. Isse AI render ekdam authentic 35mm cinema camera jaisa feel dene lagega.
Conclusion
Google Gemini ki madad se AI drone videos create karna aaj ke samay mein video creators ke liye ek revolution jaisa hai. Ab aapko hazaron rupaye kharch karke drone lene ya expensive permissions lene ki koi zaroorat nahi hai. Bas ek acchi high-resolution photo choose karein, Gemini mein master prompt paste karein, aur kuch hi seconds mein apna khud ka cinematic drone shot ready karein. Practice karte rahein, alag-alag camera angles explore karein, aur apne content ko agle level par le jayein!