Namaskar dosto! Mera naam Gautam Rai hai, aur main pichle 5 saal se video editing industry mein as a professional content creator aur video editor kaam kar raha hoon. Meri is on a creative journey, aap logo ke pyaar ki wajah se mera YouTube channel 5K+ subscribers aur Instagram page 140K+ followers ki ek majboot family ban chuka hai. Mera hamesha se ek hi vision raha hai: beginners ko bilkul free mein genuine editing knowledge, real tips, aur trending tricks sikhana, taaki aap sabhi apni videos ko next level par le ja kar apne social media presence ko tezi se grow kar sakein.
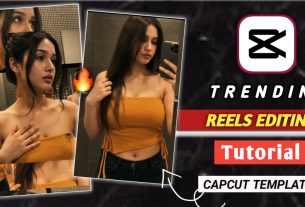
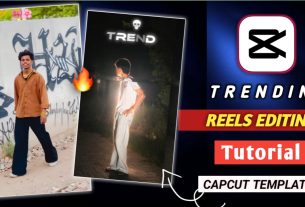
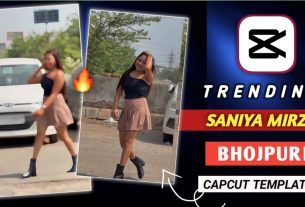
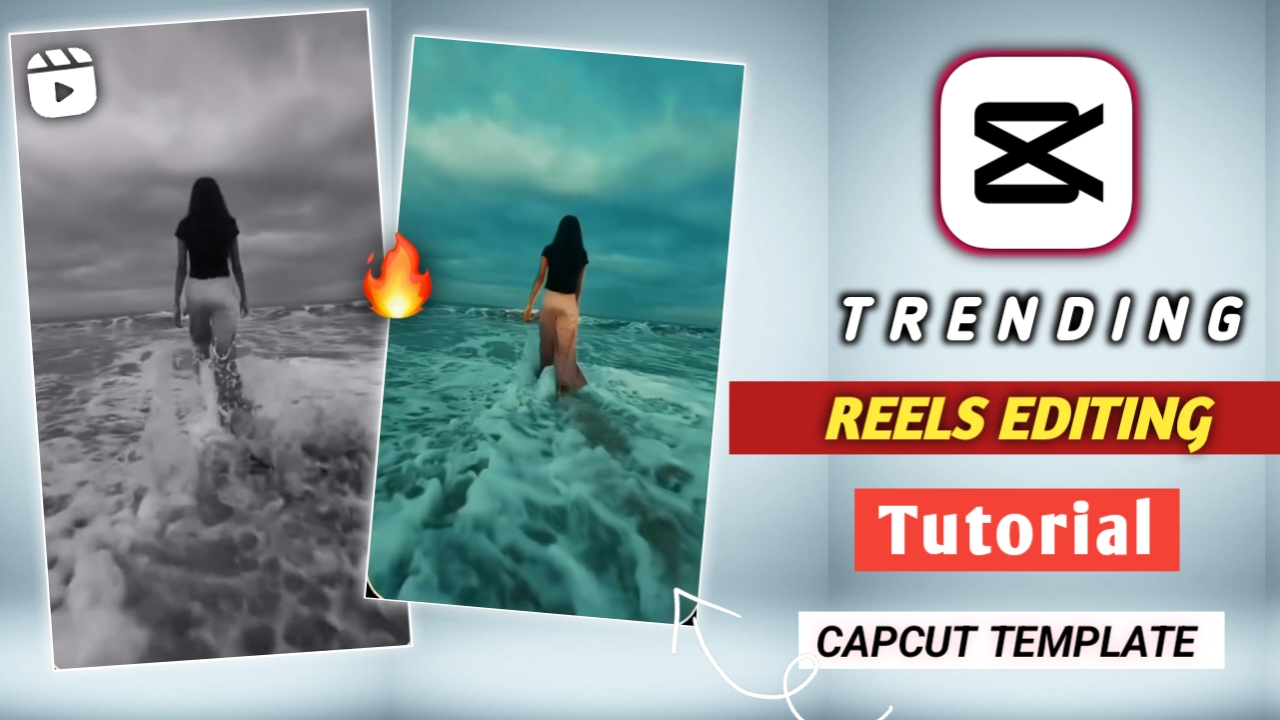
Slow Motion CapCut Template 2026 | 100% Working Viral Edit Template
Aaj ke digital daur mein, jahan har koi social media par viral hona chahta hai, wahan apni video ko dusron se alag dikhana sabse bada challenge ban gaya hai. Agar aap Instagram Reels, YouTube Shorts, ya TikTok scroll karte hain, toh aapne notice kiya hoga ki smooth slow-motion videos hamesha sabse zyada attention grab karti hain. Ek perfect slow-mo video dekhne mein itni zyada aesthetic aur cinematic lagti hai ki viewer use baar-baar dekhne par majboor ho jata hai.
Lekin kya ek beginner ke liye manual slow-motion edit karna aasan hai? Bilkul nahi! Ghanto tak keyframes adjust karna aur video ki speed ko maintain rakhna kaafi frustrating ho sakta hai. Yahi wajah hai ki 2026 ki advanced AI technology ne aapka kaam aasan kar diya hai.
Is article mein, main aapke liye lekar aaya hoon Slow Motion CapCut Template 2026, jo ki ek 100% working viral edit template hai. Is template ka use karke aap apni kisi bhi normal video ko sirf ek click mein ek mind-blowing, professional slow-mo reel mein convert kar sakte hain. Agar aap apne content ko premium banana chahte hain, toh ye guide aapke liye game-changer saabit hogi.
CapCut Templates Kyun Itne Zaroori Hain Aaj Ke Time Mein?
Jab baat instant aur high-quality video editing ki aati hai, toh CapCut templates ka koi muqabla nahi hai. Ek smart creator hamesha apna time bachata hai aur trending tools ka sahi use karta hai. CapCut templates ke andar pehle se hi advanced AI effects, smooth transitions, aur perfect beat sync inbuilt hote hain.
Aapko sirf apni video select karni hoti hai, aur baaki ka saara heavy lifting CapCut ka AI khud kar leta hai. Chahe aap gym workout ki video bana rahe hon, travel vlogs edit kar rahe hon, ya phir attitude status reels bana rahe hon, ek Viral Edit Template aapki normal raw footage ko ek cinematic masterpiece mein badal deta hai.
How to Use Slow Motion CapCut Template 2026 (Step-by-Step Guide)
Agar aap pehli baar CapCut template use kar rahe hain, toh tension lene ki koi baat nahi hai. Main aapko bilkul zero se step-by-step bataunga ki is template ko properly kaise use karna hai.
Step 1: Secure VPN Connection Setup
Kyunki India mein CapCut officially available nahi hai, isliye sabse pehla aur sabse important step hai ek reliable VPN (Virtual Private Network) use karna. Play Store ya App Store se koi bhi achha VPN download karein aur use Singapore ya US server se connect karein. VPN on hone ke baad hi CapCut ke saare features aur templates smoothly work karte hain.
Step 2: Click on the Official Template Link
Neeche maine aapko is Slow Motion CapCut Template 2026 ka 100% genuine aur direct link provide kiya hai. Aapko simply us link par click karna hai. Ye link directly aapke phone browser ke through CapCut application mein open ho jayega.
Step 3: Selecting the Right Video
Jaise hi link open hoga, aapko bottom right corner mein “Use Template in CapCut” ka option nazar aayega. Us par tap karein. Ab aapko apni phone gallery se us video ko select karna hai jise aap slow-mo mein badalna chahte hain.
(Note: Link par click karne se pehle ye double-check zaroor kar lein ki aapka VPN properly connected hai aur background mein CapCut app open hai.)
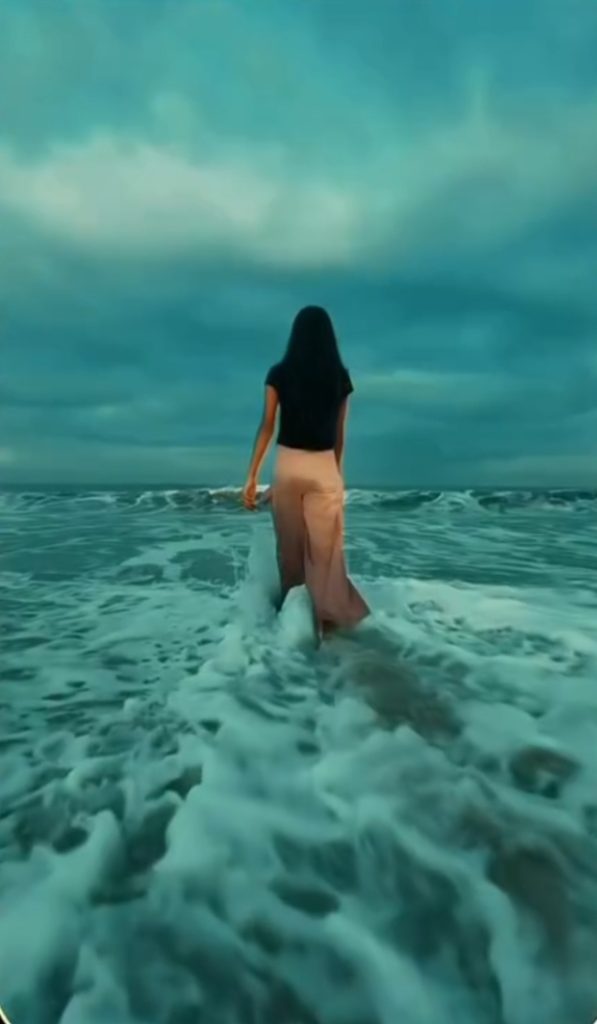
Pro Tip: Hamesha aisi video choose karein jismein subject ka thoda fast movement ho (jaise chalna, hair flip, ya koi action), taaki slow-motion ka effect bilkul clear aur attractive nikal kar aaye.
Step 4: Applying the Slow-Mo Magic
Video select karne ke baad ‘Preview’ ya ‘Next’ button par click karein. Ab CapCut ka AI automatically aapki video par Optical Flow technology apply karega. Is process mein kuch seconds lag sakte hain, isliye application ko close na karein. Processing complete hote hi aapki video smooth slow-motion mein convert ho jayegi
AFTER EDITING GUIDE: Template Use Karne Ke Baad Kya Karein?
Bahut saare beginners ek sabse badi galti karte hain ki wo template use karte hi video ko turant export kar dete hain. Ek professional editor hone ke naate main aapko bata doon ki asli magic “After Editing” mein hota hai. Apni video ko ekdum iPhone jaisi high quality aur cinematic look dene ke liye, template apply hone ke baad in step-by-step tweaks ko zaroor follow karein:
Step 1: Adjust Video Speed & Optical Flow (Smoothness)
Template ne apna kaam kar diya hai, lekin aap ise aur bhi smooth bana sakte hain.
Video clip par tap karein aur ‘Speed’ option mein jayein.
• Wahan ‘Curve’ ya ‘Normal‘ speed ko apne hisaab se thoda aur adjust karein jahan aapko lagta hai ki video thodi aur slow honi chahiye.
• Sabse important: Agar aapko video mein minor sa bhi lag dikhe, toh ‘Make it Smoother’ option par click karke ‘Better Quality’ (Optical Flow) select karein. Ye AI aapke missing frames ko generate karega aur video makkhan ki tarah smooth ho jayegi
Step 2: Color Grading & Filters Apply Karna
Sirf slow-mo se video viral nahi hoti, uske colors eye-catching hone chahiye. Video export karne se pehle ‘Adjust’ tool mein jayein aur ye setting apply karein:
• Contrast (+10): Isse video ke dark aur light areas mein depth aati hai.
• Saturation (+15): Apne subject aur background ke colors ko thoda pop-up karne ke liye saturation badhayein.
• Sharpen (+25 to +30): Ye ek secret trick hai. Sharpen badhane se aapki video ke edges clear ho jaate hain aur video bilkul 4K HDR quality ki lagne lagti hai.
• Uske baad ‘Filters’ option mein jaakar koi cinematic filter (jaise Oasis, Clear, ya Teak) apply karein aur uski opacity ko 40-50% ke beech rakh dein.
Step 3: Trending Audio Sync Karna
Template ke sath default audio aati hai, lekin agar wo audio abhi trend mein nahi hai, toh aapko ise badalna hoga
CapCut mein ‘Mute Clip Audio’ par click karein.
Phir Instagram ya YouTube Shorts par jo bhi Lo-Fi, Slowed + Reverb, ya Heavy Bass Drop wala gaana trend kar raha ho (jispar arrow ↗️ ka nishaan ho), us audio ko download karke ‘Extract Audio’ ke zariye apni timeline par add karein.
• Dhyan rahe ki video ka slow-mo effect thik us point par aana chahiye jahan music ka beat drop ho raha ho. Ye choti si detail viewer ko goosebumps deti hai.
Step 4: Export Without Watermark
Sab kuch perfect hone ke baad, jab aap export button (top right corner) par click karenge, toh aapko do options milenge. Hamesha “Export without watermark” (ya Export to TikTok) wala option choose karein. Isse aapki video par CapCut ka logo nahi aayega, jo ki ek clean aur professional look dene ke liye bahut zaroori hai.
Secret Export Settings For 4K High-Quality Reels
Aksar log mujhse puchte hain ki itni achhi editing karne ke baad bhi jab wo Instagram par video daalte hain, toh quality blur kyun ho jati hai? Ye sab galat export settings ki wajah se hota hai. Apni mehnat ko waste hone se bachane ke liye, CapCut mein hamesha in Professional Export Settings ka use karein:
1.Resolution: Isko hamesha 1080p par set karein. (Yad rahe, Instagram natively 1080p ko hi best support karta hai. Agar aap 4K mein karenge toh Instagram khud use compress karke quality kharab kar dega).
2.Frame Rate (fps): Slow-motion videos ke liye frame rate ko humesha 60 fps par lock karein. Ye aapki video ki fluidity aur smoothness ko maintain rakhega.
3.Code Rate (Mbps): Ise High ya Recommended par set karein taaki bitrate loose na ho
4.Smart HDR: Agar aapke phone mein ye option enable hai, toh ise ON rakhein.
(Note: Instagram par video upload karne se pehle, apne Instagram app ke Advanced Settings mein jaakar “Upload at Highest Quality” ke toggle ko zaroor ON kar lein.)
Bonus Tip: Advanced Hacks for Viral Reels After Using a Template
Agar aap chahte hain ki aapki reel ko ek initial boost mile aur algorithm use aur zyada logo tak push kare, toh sirf editing kaafi nahi hai. Ek creator ke taur par mera personal experience kehta hai ki aapko video mein Hook create karna hoga.
Apni video ke shuruati 3 seconds mein koi catchy text likhein. Jaise, “Wait for the drop…” ya “This Slow-mo is unbelievable 🤯”. Is text ko sirf pehle 3 second tak screen par rakhein aur phir gayab kar dein. Is technique se viewer ki curiosity badhti hai aur wo video ko end tak dekhta hai, jisse aapka Audience Retention high ho jata hai. Aur jiska retention high hota hai, uski video viral hone ke chances 100x badh jaate hain.
Conclusion
Toh dosto, ek high-quality aur viral-worthy video edit karna ab koi rocket science nahi reh gaya hai. Is Slow Motion CapCut Template 2026 ka sahi istemaal karke aur meri bataayi gayi “After Editing” pro tips ko apply karke, aap apni normal videos ko ek cinematic masterpiece mein badal sakte hain. Yaad rakhein, consistency aur choti-choti details par dhyan dena hi ek aam editor ko pro banata hai. Isliye aaj hi is template ko try karein, apna best content create karein, aur duniya ko apna talent dikhayein. Agar aapko ye guide helpful lagi ho, toh video editing ki aisi hi genuine aur advanced tricks ke liye mere sath jude rahein! Happy Editing!