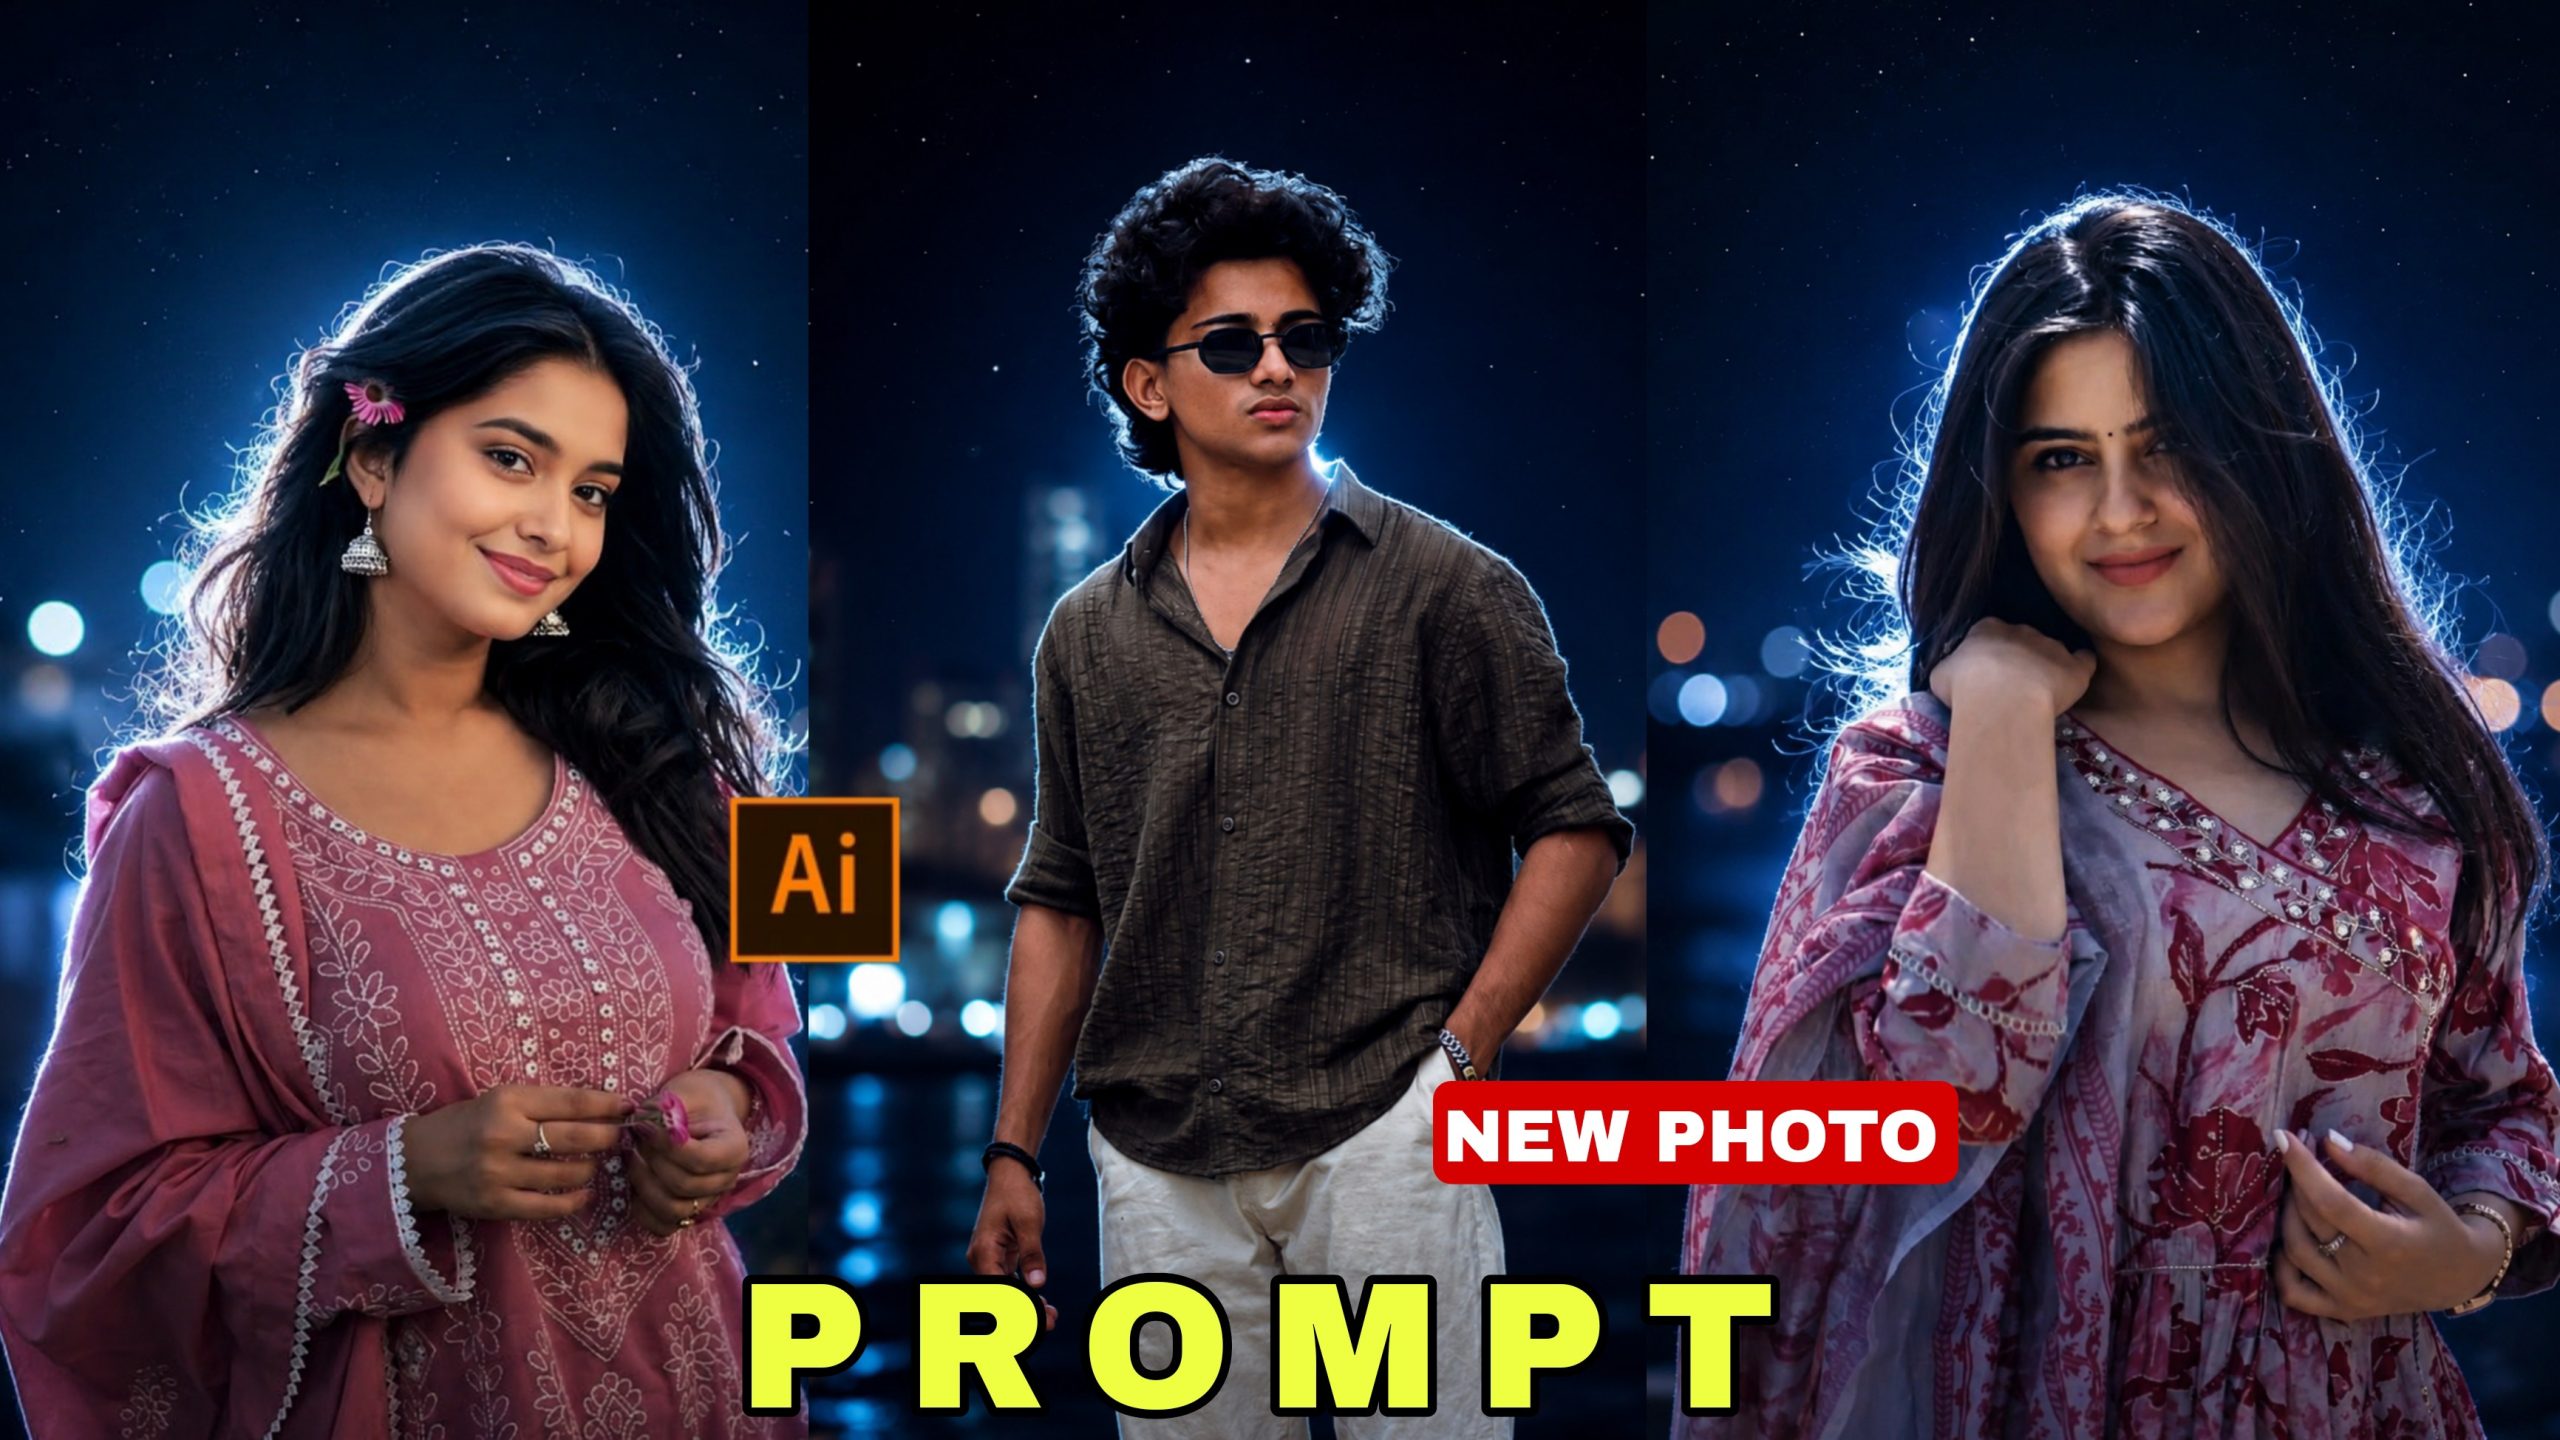
Instagram Reels ka algorithm 2026 mein poori tarah se evolve ho chuka hai. Aaj kal viewers ka attention span bahut kam hai, aur unhe pehle 2 seconds mein hi kuch visually extraordinary chahiye hota hai. Agar aap Instagram scroll karte hain, toh aapne notice kiya hoga ki normal photos ya basic videos ki jagah aaj kal ultra-realistic, 3D cinematic AI photos ka trend aasmaan chhu raha hai. Har dusra viral creator apni reels mein aisi moody, aesthetic aur DSLR-level ki premium photos use kar raha hai, jisme background blur hota hai aur ek magical night vibe aati hai.
Lekin sabse bada sawal ye hai ki aisi mind-blowing images banate kaise hain? Jawab chhupa hai ek perfect text command mein. Agar aap ek perfect Viral AI Cinematic Photo Editing Prompt for Instagram Reels | ChatGPT Trending Edit ki talash mein hain, toh aap bilkul sahi jagah par aaye hain. Is highly detailed aur comprehensive guide mein, main aapko sirf wo secret prompt hi nahi dunga, balki use apne hisab se step-by-step customise karna, aur us static photo ko ek viral video reel mein convert karne ka poora process bhi sikhaunga. Aaiye is creative safar ki shuruat karte hain!
Instagram Par Cinematic AI Photos Ka Craze Kyun Itna Bada Hai?
Kuch saal pehle tak, ek cinematic photo click karne ke liye aapko mehnge DSLR cameras, prime lenses (jaise 50mm ya 85mm), professional lighting setup aur ek expert photographer ki zarurat hoti thi. Lekin AI image generators (jaise ChatGPT DALL-E 3, Bing Image Creator, aur Midjourney) ne is poore game ko democratize kar diya hai.
Aaj ke time par Lofi music reels, sad shayari videos, motivational quotes, aur aesthetic status videos banane wale creators ke liye AI photos ek brahmastra ban chuki hain. Audience aisi photos par isliye rukti hai kyunki inme ek ‘vibe’ hoti hai—ek Hollywood movie ke scene jaisa feel. Jab aap ek perfect prompt ka use karte hain, toh AI usme realistic lighting, depth of field aur moody tones add kar deta hai, jo normal mobile photography se achieve karna lagbhag namumkin hai
.The Ultimate Secret: Viral AI Cinematic Photo Editing Prompt
Ek average AI photo aur ek jaw-dropping cinematic masterpiece ke beech ka sabse bada difference hota hai uska ‘Prompt’ (Command). Agar aap AI ko sirf itna likh kar denge ki “A boy standing at night”, toh wo ek basic, cartoonish ya un-realistic image generate karega. Ek professional result ke liye aapko lighting, background, atmosphere aur camera settings ko text mein detail mein describe karna padta hai. Niche main aapko wo premium, highly-detailed environment prompt de raha hoon jo is waqt Instagram par sabse zyada trending hai. Ye prompt background aur lighting ki ekdum perfect setting karta ha
Prompt copy
Realistic cinematic night background with a dark navy-blue and black gradient atmosphere, soft glowing bokeh lights in the distance, subtle starry particles scattered across the frame, dreamy urban night aesthetic, smooth depth of field, faint misty glow around the subject, high contrast lighting with strong white rim light from behind creating a effect around the hair and shoulder,elegant soft-focus environment, premium DSLR portrait look, minimal distractions, moody yet romantic vibe, ultra clean background separation, realistic light bloom, soft blue ambient tones mixed with cold midnight shadows.
Ye sirf ek text nahi hai, ye lighting aur photography ka ek poora science hai jo AI ko strictly follow karne ko kehta hai taaki aapki photo 100% real aur cinematic lage.
Is Prompt Ko Apne Hisab Se Customise Kaise Karein? (Step-by-Step Guide)
Upar diya gaya prompt ek “Environment aur Lighting” prompt hai. Iska matlab hai ki ye background aur photo ke mood ko set karta hai. Lekin photo mein aapko kiski image chahiye (ladka, ladki, kapde kaise honge), ye aapko is prompt ke shuru mein add karna hoga. Aaiye isko customise karne ka step-by-step process practically samajhte hain:
Step 1: Apne Character Ko Define Karein (Subject)
Sabse pehle aapko ye tay karna hai ki aapki photo ka main character kaun hai. Uski age, gender aur physical appearance ko clearly likhein.
Example: “A handsome 20-year-old Indian boy” ya “A beautiful 18-year-old girl”.
Step 2: Outfit Aur Styling Decide Karein
Character ne kya pehna hai, ye photo ke mood ko bahut effect karta hai. Cinematic night vibes ke sath dark ya stylish kapde bahut ache lagte hain.
Example: “wearing a stylish black hoodie with the hood up” ya “wearing a traditional black saree with silver jewelry”.
Step 3: Pose Aur Action Ko Describe Karein
Character kya kar raha hai? Kya wo camera ki taraf dekh raha hai ya kisi aur taraf? Ye detail dena zaroori hai.
Example: “standing alone, looking away from the camera with a serious expression” ya “walking slowly while looking directly into the lens”.
Step 4: Final Customised Prompt Ready Karein (Combination)
Ab aapko apne banaye hue character details (Step 1, 2, 3) ko mere diye hue Viral AI Cinematic Photo Editing Prompt ke theek aage jod dena hai.
Full Customised Prompt Ka Ek Best Example:
A handsome 20-year-old Indian boy wearing a stylish black hoodie with the hood up, standing alone, looking away from the camera with a serious expression.
Realistic cinematic night background with a dark navy-blue and black gradient atmosphere, soft glowing bokeh lights in the distance, subtle starry particles scattered across the frame, dreamy urban night aesthetic, smooth depth of field, faint misty glow around the subject, high contrast lighting with strong white rim light from behind creating a effect around the hair and shoulder,elegant soft-focus environment, premium DSLR portrait look, minimal distractions, moody yet romantic vibe, ultra clean background separation, realistic light bloom, soft blue ambient tones mixed with cold midnight shadows.”
Ab aapko is poore final prompt ko copy karna hai aur Microsoft Bing Image Creator (jo bilkul free hai) ya ChatGPT Plus mein paste kar dena hai. 10 second ke andar aapke samne 4 mind-blowing cinematic photos aayengi jo directly Instagram par aag lagane ke liye ready hongi
AI Photo Ko Ek Viral Instagram Reel Mein Kaise Convert Karein?
Sirf ek static (ruki hui) photo generate kar lena kafi nahi hai. Instagram algorithm video format (Reels) ko zyada push karta hai. Apni AI generate ki hui cinematic photo ko reel mein convert karne ke liye in professional editing steps ko follow karein:
1. CapCut 3D Zoom Effect Ka Magic
CapCut application aaj kal AI photos ko dynamic reels mein badalne ke liye sabse trending aur best tool hai.
Sabse pehle apni generate ki hui photo ko CapCut mein import karein.
Photo layer par click karein aur niche menu mein ‘Style’ option par jayein.
Wahan se “3D Zoom Pro” ya “3D Zoom” effect apply karein.
Ye effect magically aapki 2D photo ke background aur character ko alag-alag analyze karke ek 3D moving video mein badal dega.
Aisa lagega jaise camera physically character ke paas move kar raha hai.
2. Cinematic Overlays Aur Particles Add Karein
Humare prompt mein “subtle starry particles” the, lekin reel mein real motion laane ke liye video overlays ki zarurat padti hai
• YouTube se ‘Dust Particles Black Screen Overlay’ ya ‘Raindrops Black Screen’ download karein.
• Use CapCut mein ‘Overlay’ ke zariye add karein aur ‘Blend’ mode ko ‘Screen’ par set kar dein.
• Isse photo mein hawa aur particles ka realistic motion aa jayega jo viewer retention badhata hai.
3. Trending Audio Aur Beat Syncing
Ek moody night background ke sath galat audio ka selection poori reel barbaad kar sakta hai. Hamesha Instagram par trend kar rahe ‘Lo-fi’, ‘Slowed & Reverb’, ya ‘Aesthetic Instrumental’ songs ka use karein. Gaane ki beat drop ke sath text ka aana ya photo mein ek halka sa shake (flash effect) dena video ko next level professional bana deta hai.
Bonus Tip: AI Image Upscaling Aur Color Grading Workflow
Doston, ek pro editor ki tarah kaam karne ke liye aapko image quality ka khas dhyan rakhna chahiye:
Use AI Upscalers: Bing ya ChatGPT se photo download karne ke baad, kabhi-kabhi pixels thode soft hote hain. Reels banane se pehle, us photo ko ‘Remini’ app ya ‘Magnific AI’ jaise upscalers mein daal kar 4K quality mein enhance kar lein. Isse skin details aur background lights ekdum sharp ho jayenge.
Lightroom Color Grading: Halanki prompt khud hi ‘soft blue ambient tones’ generate karta hai, lekin ek signature look banane ke liye photo ko Lightroom Mobile mein open karein. Highlights ko thoda Cyan (Light Blue) aur shadows ko thoda dark Teal ki taraf shift karein. Ye color grade aesthetic reels ke liye sabse best perform karta hai.
Lightroom Color Grading: Halanki prompt khud hi ‘soft blue ambient tones’ generate karta hai, lekin ek signature look banane ke liye photo ko Lightroom Mobile mein open karein. Highlights ko thoda Cyan (Light Blue) aur shadows ko thoda dark Teal ki taraf shift karein. Ye color grade aesthetic reels ke liye sabse best perform karta hai.
Common Mistakes Beginners Should Avoid
Agar aap is “Viral AI Cinematic Photo Editing Prompt for Instagram Reels | ChatGPT Trending Edit” ka maximum fayda uthana chahte hain, toh in common galtiyon se hamesha bachein:
1. Prompt Mein Details Miss Karna: Beginners aksar character ko define karte waqt kapde ya pose likhna bhool jate hain. AI apne man se kuch bhi bana deta hai jo aapki story se match nahi karta. Hamesha step-by-step customization rule ko follow karein.
2. Text Ko Safe Zone Ke Bahar Rakhna: Agar aap apni reel par koi shayari ya quote likh rahe hain, toh use Instagram ke interface (Like/Share buttons) ke piche mat aane dein. Text ko screen ke center mein rakhein aur uske piche ‘Drop Shadow’ zarur lagayein taaki wo directly padhne mein aaye.
3. Low-Quality Exporting: Editing app se video export karte waqt settings ko hamesha 1080p resolution aur 60 FPS (Frames Per Second) par set karein. Bitrate ko ‘High’ rakhein taaki Instagram par upload hone ke baad video ka compression aapki cinematic quality ko kharab na kar sake.
Conclusion
Content creation ki duniya mein AI ek tool nahi, balki ek revolution hai. Is article mein maine aapko wo secret Viral AI Cinematic Photo Editing Prompt for Instagram Reels | ChatGPT Trending Edit aur usko customise karne ka poora step-by-step process detail mein samjha diya hai. Ab results aapke hath mein hain. Aaj hi Bing Image Creator open karein, apni pasand ka character details daalein, aur is premium prompt ko use karke apni pehli cinematic masterpiece generate karein. Phir use reels mein convert karke social media par upload karein aur khud magic dekhein. Keep experimenting and keep creating!